It takes a long time to create heirlooms. Photos and information on this blog are not free to be pinned, copied, or transferred without my permission. Please be cyber savvy and ask before taking.
Showing posts with label Monet's Garden Oval Box by Terry Dryden. Show all posts
Saturday, August 7, 2010
Monet's Garden is done
Thursday, August 5, 2010
Just pretend
I am working on the rest of the finishing on the oval box. I did glue the braid around the top and it is drying nicely. I scraped all the glue off my hands, nails and palms. Don't ask. None on the stitching though--yes! I then trimmed the canvas seams and clipped it around the bottom. No problem. The instructions say to glue the bottom oval to the bottom of the folded in canvas. Oh, sure. Easy for you to say. I put the glue on the oval and tried to pin it to hold it. That did not work. Okay, since I was working looking down on the bottom, try turning it over and try holding the piece to the bottom. Nope, that does not work either. My fingers are not long enough, nor, do I have enough to go all around. Walk away and wipe more glue off every appendage. Say blue words. Give DH a dirty look when he asks "Are you done yet?" Re-read instructions. Walk away--there is always tomorrow.
There is no photo tonight, so please pretend there is. Thank you.
Wednesday, August 4, 2010
Back to the box
Sunday, August 1, 2010
Into finishing
This gift kit also came with a DVD with instructions by Terry Dryden and Sandie Colbert, which is detailed and step by step. I am following all the instructions and the first step is to mark and cut out each piece of canvas.
Then using the frame, I made a pattern and cut out four pieces of mat board making sure they fit into the lid.
Then I covered one of the ovals with a piece of the blue Ultrasuede and glued it to the inside clipping the curves along the way. The picture shows the back of the piece where I put pieces of quilt batting to keep my clothespins from marking my fabric while holding it so the glue can dry.
I need to stop by Michael's tomorrow and pick up a couple of things I need to keep going.
Wednesday, July 21, 2010
Strange Looking Picture
I finished putting in all the Gloriana Silk Ribbon loops with about 4 inches of ribbon left. I think Terry might have less packed posies but I like these. I then put in French knots with two strands of Splendor, but not in all of the flowers. I laid down the needle, unclamped the frame and held it up for DH to admire and lavish praise. "It is really nice but a strange looking picture". I started laughing and gently reminded him that this was going to be finished into a box and was one of my Christmas presents from him! I am still laughing on this one! I promise to start the finishing on this box this weekend. I have the frame and Terry included a DVD with instructions--how cool is that?
Thursday, July 15, 2010
Maybe half?
Wednesday, July 14, 2010
The leaves and the flower
I finished filling in the Reverse Mosaic with one of the other yellow Splendors as the center is covered by the flowers in the garden, and I ran out of the pale yellow. I then used the 7 mm River Silks and started the leaves on each end and did the tips for placement. I need to finish shaping the leaves, but I really had to put in a few loops of the Gloriana Monet's Pond ribbon to see what they are going to look like.
Friday, July 9, 2010
Picking up where I left off
This is my regular Thursday stitching project however I did not stitch at all last night. One of our regular stitching group needed help sorting her stash. She is downsizing big time and moving into a retirement home due to issues with Alzheimer's disease. This was not as you can imagine a cheery evening but we made the best of it. She is getting rid of a lot of her books and all of the other "must haves" in her stash. We will help her disperse her treasures over the next few weeks and then make sure she has cash for some new interests. I encourage you all to think about what you will do with your stash and make sure your friends and family are aware of your wishes. A long time ago the group all committed to helping each other when the time came and even though it is difficult to do, we all want to make sure these treasures go to new friends and good homes.
Thursday, July 1, 2010
Oh, Wow!
I was so excited but I did manage to settle down and do some stitching too. I finished the bottom band of Monet's Garden by finishing the Linen Fold Variation center section using the Splendor yellows. I then started the top of the box doing a Reverse Mosaic with more of the yellow Splendor--it is that little section on the top oval!
What a great day! Stitchers and bloggers are wonderful!!
Thursday, June 24, 2010
More Rosemary
Thursday, June 17, 2010
Pavillion Diamonds
Thursday, June 10, 2010
Over on the right
Thursday, June 3, 2010
Rosemary's Garden
I completed the Rosemary's Garden panel tonight. First I finished the tent stitched squares that I had started last week. Then I put in the yellow cross stitches with six strands of pale yellow Splendor. The petals were also put in using six strands of the lavender Splendor. Using the six strands of silk makes both the center and petals of the flower stand out away from the tent stitched background. Great idea by Terry!
Thursday, May 27, 2010
Rosemary Stitch
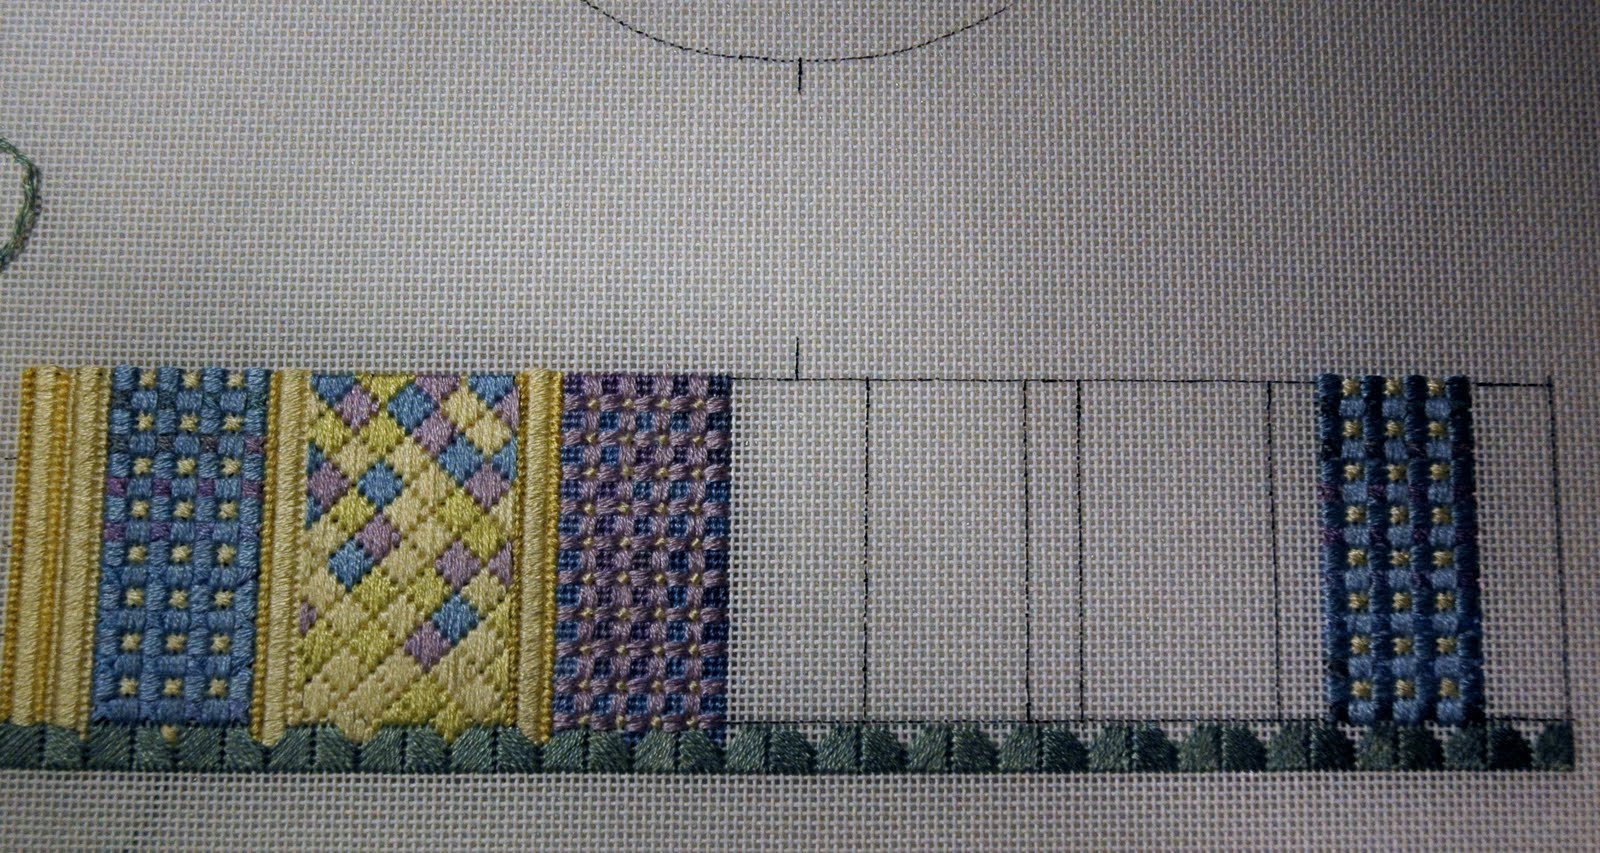
I finished another band of the linen finish on the left and then started the Rosemary stitch band. There are three steps to this band. I am on the first one using Gloriana silk Monet's Pond and
doing squares of tent stitch.
Stitches in Sterling is available by class only at this per Nancy Cucci for those of you who are looking for it. I bought my kit from someone else that had taken the class but not stitched it.
Sorry about that but keep your eyes open as sometimes they pop up.
Oh, yeah, I dropped Ribbon and Roses off at the framer's and it should be ready in two weeks!
Thursday, May 6, 2010
Pavillion Diamonds
The third band from the left is called Pavillion Diamonds. Six strands of Splendor are separated and laid in using Pale Yellow, Blue, Lavender and Pale Yellow Green with the Pale Yellow being the base and predominant color. I really like this as it goes quickly and is so pretty...such spring time colors!
Thursday, April 29, 2010
Linen Fold Variation
Thursday, April 22, 2010
Floral Stitch is done
Thursday, April 15, 2010
Fowers in the Florals
Thursday, April 8, 2010
Next up....
To begin, using J. L. Walsh Silk Perle in a soft medium green, I completed the bottom in an alternating Scotch Stitch. The instructions include a couple of options and I chose to use the deeper V option. The box bottom width is 10 1/2" wide and 2 1/2 inches high.
Subscribe to:
Posts (Atom)